
Hello! Today, I have a couple of Valentine cards to share with you that I made using this month’s Hedgehog Hollow box.

To make the first card, I blended Flamingo Color Hive ink through the heart stencil from the kit. I made sure it was at the bottom of the panel so I had enough room to fit the second heart above it.

Next, I added Tiptree Jam Color Hive ink over the stencil around the edges.

I wanted to mask off the top of the heart so the bottom of the second heart would look like it was behind it. To do this, I stenciled the top on a post it note.

Next, I trimmed around the stenciled image on the post it note and replaced it over the image I stenciled. I flipped the stencil over to face the opposite direction and blended Flamingo ink over it. Then, I blended the Tiptree Jam over the edges.

Once I finished the stenciling, I used my anti static bag and rubbed it over the images. Using the” Love” stamp from the kit, I stamped it in Clear Color Hive embossing ink.

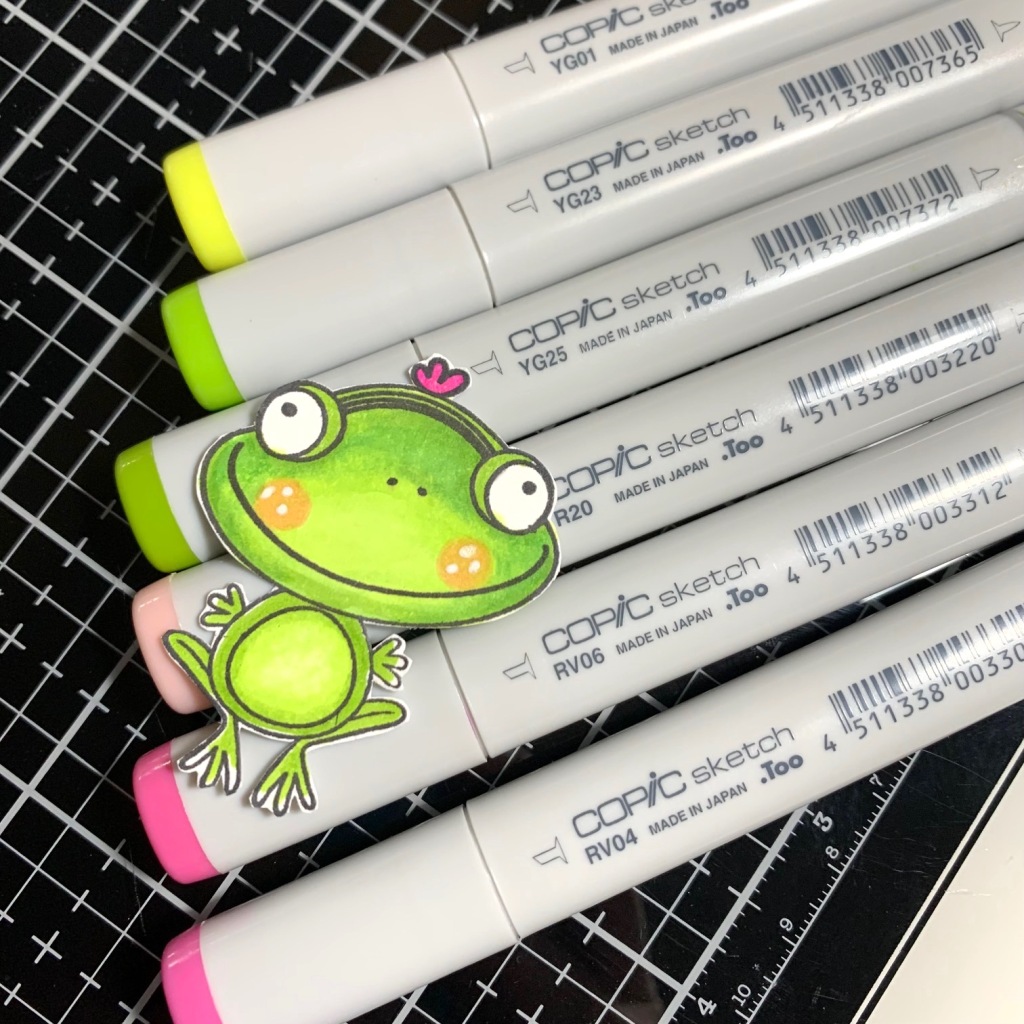
Then, I embossed it with gold embossing powder. I stamped the adorable frog on white cardstock using Eclipse Color Hive ink and colored it in with Copic Markers.
Next, I cut down the stenciled panel to 4 1/8″ x 5 3/8″ and layered it on a card base using Tiptree Jam cardstock.

Then, I added Aura Crown Jewel Gems and the frog to finish assembling the card.

To make the second card, I blended Flamingo ink through a different heart stencil from the kit.

Using my Clear Color Hive ink, I smooshed it through the stencil over the stenciled heart. Next, I embossed it with gold embossing powder. Using the little bit of Flamingo ink left on my blending brush, I lightly went over the embossed image to add some pink to the inside of the heart.

Then, I stamped the cupid image and colored it with Copic Markers.

I do not usually cut my stamps, but I knew I was going to use the heart separately in a future card. I cut the heart from the love sentiment using straight lines so I could line it back up for future use. Then I stamped “Love” using Eclipse Color Hive ink.

Next, I cut down the panel to 4″ x 5 1/4″ and layered it on a card base using Tiptree Jam cardstock. To finish the card, I added Aura Crown Jewel Gems and popped the cupid up on foam tape.

Thank you so much for stopping by! I hope you enjoyed my subscription box inspiration!
Kimberly
